This is a tutorial to do an urban spatial analysis using depthmapX (link) or UCL Depthmap (link). The tutorial is based on the barnsbury axial line that could be downloaded here (link). This tutorial could be applied on any axial lines drawn in a CAD or GIS package exported to a dxf format.
Your first urban map
1. Open depthmapX : double click on depthmapX.exe icon to open the software
2. Open new file window : File – New – Blank pane appears
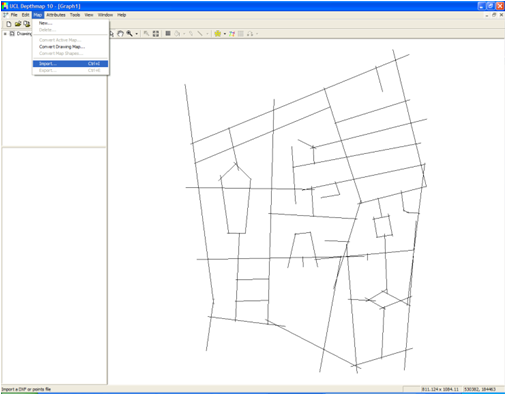
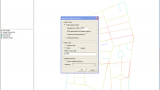
3. Import Dxf : Map – Import – Open your dxf file(A)
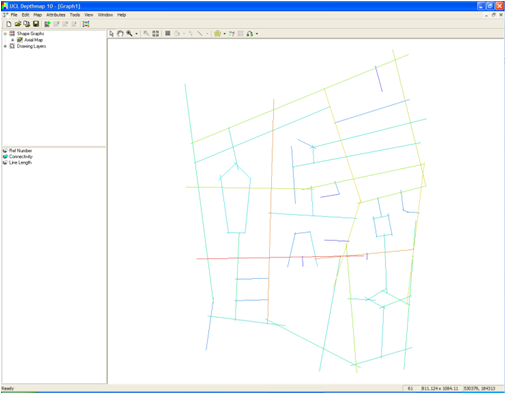
4. Convert to axial map : Map – Convert Drawing Map – New Map Type – Drop-down menu – Axial Map – Press OK (B)
5. Create unlinks : press unlink icon ![]() – select first line to unlink – select second line to unlink – a circle would appear where the two lines do not intersect. (eg. a motorway bypass)
– select first line to unlink – select second line to unlink – a circle would appear where the two lines do not intersect. (eg. a motorway bypass)
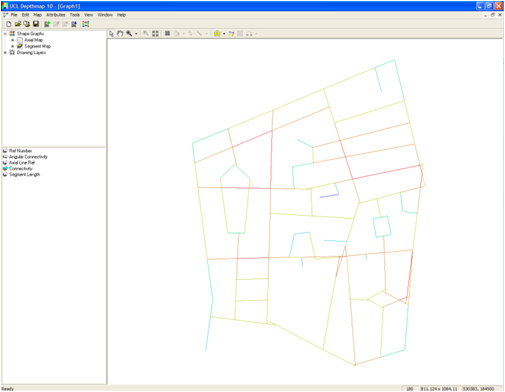
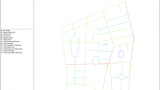
6. Convert to segment map : Map – Convert Active Map – New Map Type – Segment Map – Tick Remove axial stubs less than 40% of line length – Press OK (C)
7. You produced your first segment map !!
Your first urban analysis
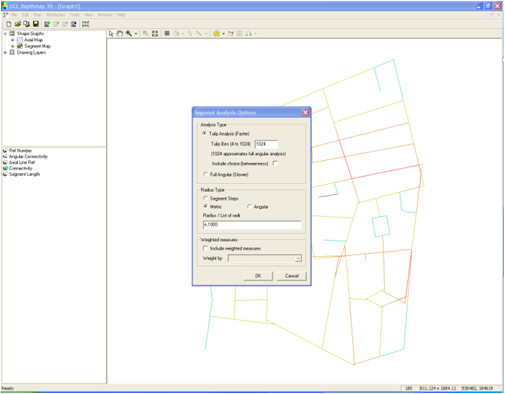
8. Segment analysis : Tools – Segment – Run Angular Segment Analysis (D)
9. Segment analysis options : Select Tulip Analysis – Select Include choice
10. Radius type options : Select metric for Radius Type – Type the radius you want to process separated by commas. ie 400,800,1200,2000,5000,10000,n – Press OK.
11. Create new columns for normalised choice : Attributes – Add Column <new attribute> – Rename Column (eg.NAChRN for normalised choice RN)
12. Calculate normalised choice : Select the new column (eg. NAChRN) – Attributes – Edit Column – Insert formula for normalised choice (eg. to calculate normalised choice for any radius use this formula – log(“put a choice measures here”+1)/log(“put its corresponding total depth measure here”+3))
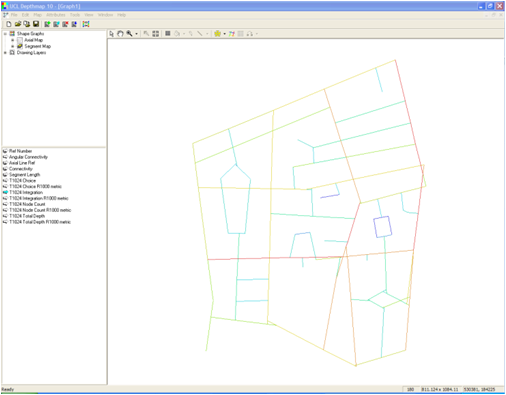
13. You now have a processed segment map (E), with syntactic values such as normalised choice and integration.